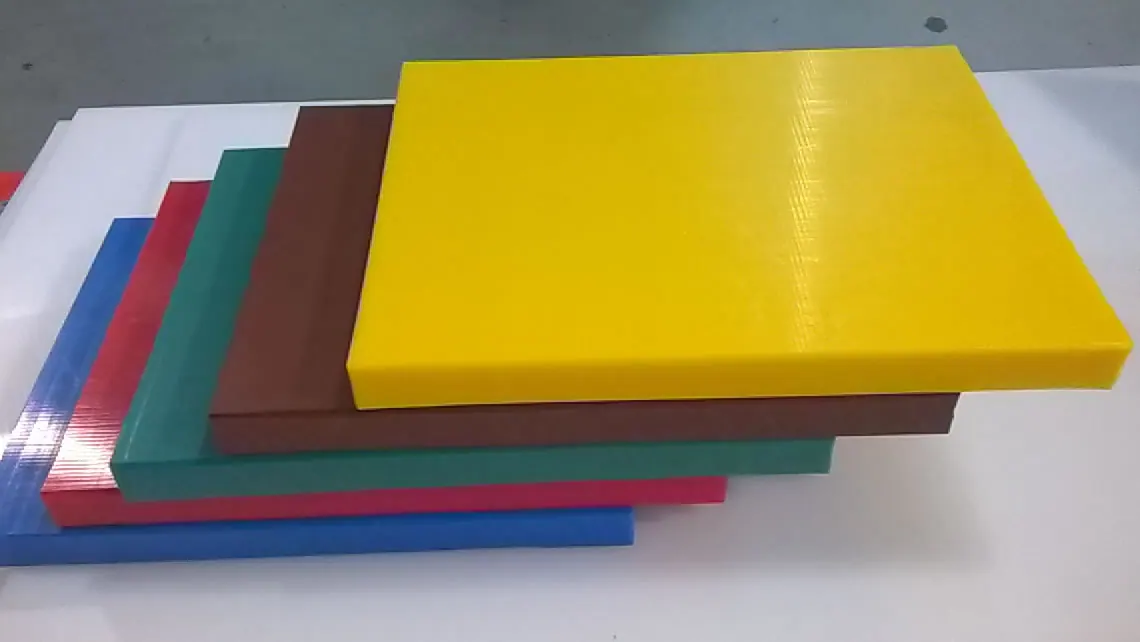
Important safety note: This is an archival text, not a modern work instruction. Do not identify plastics by burning them, and do not heat, cut, weld, bond or spray unknown polymers without professional material identification, a safety data sheet, suitable ventilation, protective equipment and a risk assessment. Burning plastics can release highly hazardous gases. The historically mentioned open flame, mercury, asbestos, hot oil, heated wire, benzene, chloroform, nitrocellulose and flammable coatings are not recommendations for present-day use.
Plastics, adhesives, solvents and paints are not part of Savo Kusić’s current public offering. The present focus is timber windows, timber–aluminium windows and custom-made doors.
Identification of plastics
Identifying plastics is not easy even for experts in well-equipped laboratories. The original text presented a simpler way of determining the broad type or group of plastics for household DIY work.
All you need for this test is a match and, of course, a piece of the tested substance, and some practice and attention when working.
Historical course of examination
The historical test called for carefully heating a piece of the material with a match. If it melted, it was described as a thermoplastic; if it did not, as a thermoset. After the match was removed, the following thermoplastics were said to continue burning: polyethylene, polypropylene, polystyrene, polymethylene, polymethacrylate, cellulose acetate and nitrocellulose. The flame was said to go out with polyvinyl chloride, polytetrafluoroethylene and silicones (picture 1).

SLIKA 1
Of those that burn further, polyethylenes have a small bluish flame and smell like a candle when extinguished, and if we touch them, we feel that they are softer, fatter. Polypropylene (A) is drier, more fragile, polystyrene (B) gives us a sooty flame and a sweet smell. Non-soot, swells, crackles on combustion, smells like acetic acid cellulose acetate (C). Burns with a non-sooting flame, crackles, smells like fruit polymethyl methacrylate (D). Rapidly burns nitro-cellulose.
Polyamide swells, crackles and smells like burnt wool from non-combustible materials in the flame. The edge of the flame is colored green, it smells like polyvinyl chloride acid. If it melts a little in the flame, taking off the flame a milky white mass, it smells like acid, it is poll-tetra fluoroethylene.
Polyplastics that do not soften when heated. When the characteristic smell of bakelite is emitted by the flame, it is phenoplast. By heating the crackle, it smells like aminoplast ammonia. It burns hard, burns with a sooty flame, crackles, cracks in the flame, when the flame is extinguished it gives off a fruit smell (sweet) polyester. It doesn’t crackle in the flame, if you remove the match, it burns even more for a short time and smells like burnt epoxy-resin hair.
In the case of polyplasts with “fillers”, additional substances often cover the real picture, and it is more important to pay attention to smells.
Processing plastics
Known processing steps are applied. The difference between the processing behavior of metal and polyplastic is mainly reflected in the faster heating of the polyplastic and its adhesion to the tool. That is why slow-moving, large-toothed tools are used, which are mainly used in woodworking. So: scraping, planing, sanding, drilling, stripping. Sanding is least recommended.
Cutting, carving various shapes, cold bending, is done in the same way as soft metals (alumlnium) are processed (picture 2).

SLIKA 2
Thermal processing of plastics is entirely different.
Thermal processing of plastics
Objects made of phenoplast and aminoplast, hot formed during production, definitely hardened, can no longer be processed due to the effect of heat. These polyplastics (predominantly textile and paper bakelites) are processed by chip removal only. Thermoplastics are softened by the action of heat, become plastic, can be formed and retain their new form, shape by cooling. The most common thermoplastics are hard and soft PVC, polymethyl methacrylate (Plexi-glass), polystyrene and celluloid.
The heating can be local or whole mass heating. The goal decides which method of heating we will use.
Historical heating methods
1. Warming cabinet (oven for baking cakes, meat). It is important that the polyplast placed in the oven heats up equally on all sides. It is suitable for heating plates, pipes. The temperature can be controlled with a mercury thermometer.
2. Heated plate (stove). At a controlled temperature, it is suitable for heating smaller plates.
3. Open flame (Bunsen lamp, town gas, soldering torch, etc.) The heat of the flame of these sources is always higher than the heat required for heat treatment of the polyplast. Their use requires great experience and caution. We will make the job easier if we extend the metal tube burners. This type of extension prevents the direct effect of the flame, because in practice only hot air leaves the pipe, which can be used with less risk for local heating (picture 3)
4. Hot oil. Preparing oil baths requires great experience and caution. The flash point of the oil should be known. The temperature of the bath should be constantly controlled. It is forbidden to use an open flame to heat the oil. Local heating should be avoided by constant heating and stirring. The risk of fire is considerable. From the point of view of polyplastics experts, this is a very good method, because the temperature is easily controlled and the constancy of its height is easily regulated. But if the processing is followed by gluing, it is much more difficult due to the presence of an oily layer on the surfaces, which is difficult to remove completely.
5. Hot sand. It is used when bending polyplastic pipes.
6. Hot air. A hair dryer, as a source of warm air, can be used well for local heating.
7. Heated ruler. A metal ruler heated by a flame or electric current was described as suitable for bending plastic sheets. (Figure 3).

SLIKA 3
8. Infrared heaters. The degree of useful effect of these heaters depends on the base color of the polyplast and on their absorption power. We can also include resistance heating elements in this group of heaters.
The optimal processing temperature of certain plastics is given as follows: PVC 130-140, plexiglass 145-150, celluloid 100°C. Maintaining the correct temperature is important because prolonged heating can damage the structure of materials such as PVC. According to the historical data, heating a 1mm-thick sheet takes about 1,5 minute. It is also important to form the heated sheet as quickly as possible and then cool it quickly. Cooling is most easily carried out with a wet cloth or sponge.
Bending of plates
Bending can be done in one line at various angles or in the form of an arc over the entire surface of the board. Both tasks require a lot of attention and different technologies.
If the plate is thinner than 1,5 mm, we use a 2-3 mm thick metal ruler. One end of the ruler, thermally insulated with paper or an asbestos board, is fixed between the jaws of the mangel, in a horizontal position. Heat the other end of the ruler with a burner to the appropriate temperature. (See Figure 3). The bending process is as follows: mark the bending line with a grease pencil, then lay the board along that line on a hot ruler. Polyplast softens along the line. With weak pressure, bend the plate to the desired angle, then cool it in that position with a wet cloth or sponge. If the plate is thicker, it is not enough to heat only one side. In this case, we apply two rulers, placed in parallel. The heating pad should be at least twice as thick as the poly plastic board we are bending.
Bending over the entire surface (plastic cylinder) requires a different technology. Polyplastic plate should be heated as a whole and cooled in a cold template (mould). We can heat the plate using one of the previously mentioned methods. The template material can be: wood, metal, ceramic. Bending is simple, the polyplast cannot be broken, because if we fail to bend, by reheating we soften the plate, which returns to its original shape and we can repeat the process. Enough time should be devoted to cooling, so that the plate cools completely in its entire thickness. When bending, remember that the plate must not be reheated because it returns to its original, flat shape.
Due to their elasticity, we are not able to permanently - coldly - bend softened PVC-films, plates, and we are forced to apply hot bending as with hard PVC.
Bending plastic pipes
We managed to bend the pipe well then, if the diameter of the pipe and the wall thickness at the point of the bend change only slightly. This condition excludes the possibility of elbow wrinkling. On the outer part of the arch, during bending, the wall thickness decreases, while on the inner side it thickens. The larger the diameter of the pipe and the thicker the walls, the greater the risk of wrinkling. By reducing the bending angle, the risk of deformation increases. For large arches, we heat the poly plastic pipe at the point where we want to bend, using hot air or a flame. Then it is placed on a flat plate or with a square ruler and bent (picture 4, upper part).
To achieve small arches, the tube should be filled with hot (100°C) sand, cork flour or a spiral spring of the same diameter as the tube we want to bend. If we use sand, close one end of the pipe with a conical plug, fill it completely with sand and close the other end. Heating the place of bending from the outside, we wait until the proper arc is created from its own weight. Cool with a damp cloth or sponge. If the wall cools down from the outside, the sand is immediately removed.
When using cork flour, there is no pre-heating; the negative side of this kind of filling is that it is more difficult to remove the flour. A coil spring is the most ideal, however, you should get a spring with the same diameter as the tube.
With pipes made of softened PVC, we cannot talk about actual bending, but possibly about fixing the pipe profile. This is done by heating the appropriate place to a plastic state, then by closing one end and blowing on the other end, we repair the deformed profile of the pipe, then cool.
Hot air welding
This method is mostly applied to hard PVC, but it is also successfully used in the processing of polyamide, plexiglass and softened PVC. When processing polyamide, nitrogen is used instead of air.
Due to the action of hot air, the hard PVC plate does not become liquid, but, coming to a pasty state, sticks and is welded. Successful welding depends on the preparatory actions, that is, how we managed to process the ends, edges, edges of the plates or pipes. On one side of the welded plates we process with a »V« seam, and if we want to weld on both sides, then we prepare an »X« seam. We form the edges at an angle of 60°. The material from the welding rod enters the resulting gap (Figure 4, lower part).

SLIKA 4
Air heated to 200–500°C is best produced with a welding »gun«. The “gun” for welding is a perforated tube, heated by electric current or gas, through which air flows, which is heated in this way.
If electric current is used, it is enough to install a heating element of 200 W. It is easiest to use a “gun” for soldering, because it requires only a small adjustment. We can take air from an inflated car tire. The amount of air used is relatively large. It carries 1500-1800 liters per hour. The air nozzle should have a diameter of about 3 mm. The material of the welding rods must have a lower melting point than the material of the plates we want to weld. The diameter of the rods is 2-5 mm. If we fail to get such electrodes, we can try with a cut piece from the plates we are welding. We adjust the temperature of the air jet so that it is released on a piece of paper located 25 mm away. The temperature is correct if the paper turns yellow within 5 seconds (image 4).
We weld from left to right. We hold a rod in our left hand, a “gun” in our right hand. We always hold the bar vertically, so the hot air will melt the bar and form var. We heat the seam in front of the bar with hot air. Despite its simplicity, welding requires great experience and attention. Up to a plate thickness of 4 mm, we prepare a V seam, and for thicker plates an X seam.
With softened PVC, the welding method is the same, but since the material is much softer, we press the melted rod with a small wheel.
Plexiglass, polyethylene and polyamide can also be welded in this way, but in practice this happens much less often.
Cutting foamed plastics
Cutting can be done not only with scissors, a penknife, a razor, but also with a heated resistance wire. We hang the wire on the table at that height, which corresponds to the thickness of the layer on which we want to cut the foam board. After turning on the power, we press the plate onto the glowing wire. The wire should be 0,17-0,25 mm thick, and have a 20-24 V voltage (picture 5).

SLIKA 5
Bonding plastics
Bonding is the joining of two identical or different materials using a third substance: glue. Adhesives are applied, mostly in a liquid state, to cold surfaces. We glue the same polyplasts with their solvents so that we spread them and stick them together. After the solvent has evaporated, the surfaces are glued. We use this solvent method to glue:
celluloid with acetone,
polystyrene with benzene,
plexiglass with chloroform.
Various products, adhesives, suitable for gluing various polyplasts can be found on the market.
Surface treatment and painting of plastics
Duroplasts, due to the presence of “fillers”, are usually difficult to polish. If we are not satisfied with the surface, smoothness, color, we must rub the entire surface with emery paper. If we can’t remove the cracks in that way, we smear the unevenness, mistakes with “epokit”. After the epoxy has hardened, we have to polish it again, then varnish it with nitro-varnish - in the desired color. Nitro-varnish can be applied using small sprayers for cologne or perfume (Attention! Due to the risk of fire, work with an open window or outside!) Of course, applying the varnish can also be done with brushes, but it is a much more difficult job, it is more difficult to achieve a smooth, equally thick layer of varnish, without wrinkles.
If we are not satisfied with the gloss achieved, we can help with the means that are purchased, that is, used in car care, smearing the surfaces with polishing water.
To dye transparent polyplasts in alcohol or spirit, we dissolve the desired color (which must dissolve in alcohol) and heat it to 50°C. We clean the surface with detergent and dip it in an alcohol solution. From the solution, the dye will separate onto the surface of the object. The colored layer is very thin and by polishing in certain places, we can achieve very beautiful effects, designs, patterns, etc.
For any modern work with polymers, the material manufacturer’s documentation, valid regulations and expertly defined control of fire, fumes, temperature and electrical equipment are applied. This text remains published only as a historical educational resource.