Today, Savo Kusić is focused on timber windows, timber-aluminium windows, custom-made windows, doors and quotation requests. This text remains a DIY archive and is not an offer of tiling services.
Repair of wall coverings
Warm wall covering repairs are very similar to cold floor repairs and warm floor repairs.
The repair of timber and fibreboard cladding is carried out in a similar way to the previously described methods of repairing wooden objects. Moisture damage to wall coverings is much less common than damage to floors because, in most cases, moisture can escape by another route rather than only through the covering.
The effect of water vapor is very dangerous for linings, especially those made of artificial materials. Therefore, it is not even recommended to apply such coatings in well-heated, humid rooms. Fiberboard and plywood sheathing is protected against water vapor by being mounted on a slatted frame.
The repair of cladding with panels of artificial materials is solved by replacing individual damaged panels and cladding parts with new ones.
Coverings, which have been applied by smearing or spraying, should be repaired so that after repairing the damaged parts, a new top layer is applied to the entire surface.

Covering the walls with ceramic tiles
The most common causes of damage to tile coverings - as the main representative of cold wall coverings - are in most cases the settlement of the building, the impact of frost, heat and impacts. It is a mistake to use unaged slaked lime for making mortar, because in these cases the grains swell and throw off the tiles. (Grains that subsequently quench are called lime worms). The dimensions of the tiles are 152x152, 152x127 or 152x100 mm, and their thickness is 4-7 mm.
During the repair, we have to remove the tiles so that they remain undamaged. The removal should start from the upper side. Use a chisel to indent the mortar, then carefully and individually remove and store them until further use.
When replacing individual tiles, it is almost inevitable that the tile being removed will be damaged, but care should be taken to ensure that at least the neighboring tiles remain undamaged and not moved. The place of the removed tiles should be thoroughly cleaned and only then new tiles should be installed. When installing new tiles, the mortar should be broken from the wall down to the bricks with a hammer. On this, well-prepared, part of the wall without mortar, a layer of cement mortar is placed and tiles are placed inside it. To prepare cement mortar, one part of cement and three parts of dry coarse-grained sand should be taken; mix everything well while it is still dry and then add enough water to make the mortar watery.
In the meantime, the tiles should be put in water, but only the amount that we will use that day, because excessive wetting is not good for the tiles. It is also not possible to work with dry tiles, because they take away moisture from the mortar and as a result the mortar will not bond well and the tiles will quickly come off the wall. Wetting is then sufficient if no more air bubbles come out of the tiles. After wetting, the tiles should be drained on a wooden rack.
Thin mortar is applied to the wall with a trowel to form an even layer 5-6 mm thick. The mortar layer should be left to dry for several hours. After that, a slightly thicker mortar should be prepared and placed on the back of the tile in an amount that does not run off either side. Once the individual tiles are in place, they should be tapped carefully with the handle of a hammer to distribute the mortar evenly across the back.
Tiling and grouting
Important: the tile rows must be aligned correctly, both horizontally and vertically, and all tiles must lie in the same plane. Before laying the tiles, the bottom horizontal and outer vertical rows should therefore be marked with a taut string and a straightedge. The horizontal row should be marked one tile length above the lowest point of the floor, and the tiles should be cut so that, when placed on the floor, their upper edge meets the string (fig. 1). The vertical row is set out in a similar way. When cutting tiles, an allowance should be made for a 3mm gap between individual tiles. The gaps are formed with glass, wooden or synthetic spacers 3 mm thick, placed between the ceramic tiles as stops. Spacers in the vertical joints can be removed immediately, while those in the horizontal joints are removed only after the mortar has set, which takes about 24 hours. To keep the tiles in the same plane, begin each new row by placing one tile at each of the two ends and resting a completely straight batten across them. Align the first and last tiles so that the batten bears fully on them; after each further tile is placed, set the batten across the row and tap the tile with the hammer handle until the batten bears on it completely.

FIGURE 1
The grouting of the joints is done after removing the stopper. For this, cement and fine sand in the ratio 1:2 should be made into a mortar. For grouting, you also need one rubber plate with dimensions of about 30 x 30 cm, which should be bent in the shape of a Y. It should then be used to fill the gaps between the tiles.
If white cement for whitening the joints is unavailable, the historical text gives the following procedure: Three weeks after cement grouting, prepare a thin gypsum mortar and coat the entire surface with it. Once fully dry, wipe the gypsum from the tiles with a dry cloth.
The simplest and cheapest way of installing tiles is tight, on a connection without joints, and a more complicated way is with joints, tight in a mesh without joints and in a mesh with joints (fig. 2). For installation with joints, tiles with bevelled edges should be used, and for installation in tight spaces, tiles with steep edges. At the ends and on the upper side, such tiles should be placed, the edges of which are rounded and folded on that side.

FIGURE 2
Cutting tiles
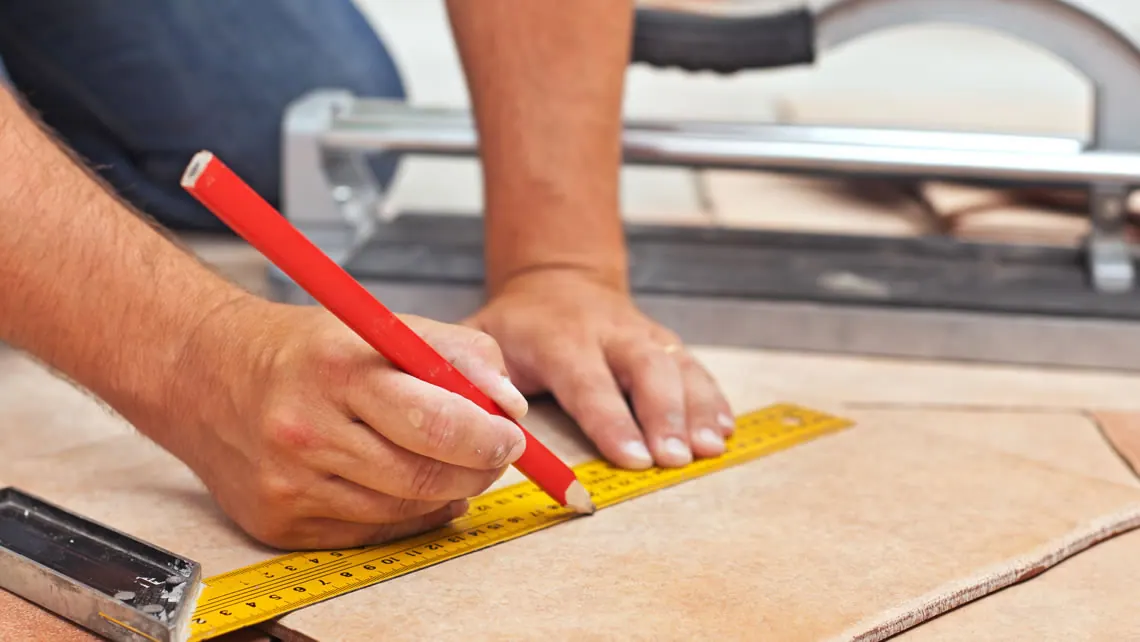
If a tile needs to be cut, place a ruler along the marked line on the glazed face and score along it with a glass cutter or hard metal (vidia) so that the hard glaze is cut through. Then make a groove on the back of the tile with a sharp knife along the cutting line. When cutting larger pieces, hold the tile with both hands or place it on the edge of the table along the cutting line and snap it; thinner pieces are broken off with pliers (fig. 3).

FIGURE 3
Gluing tiles
Compared with setting tiles in cement mortar, bonding tiles is a much faster process. The wall must, however, be completely flat. In this case the wall plaster does not need to be removed; the tiles are bonded directly to it. The described adhesive is a synthetic dispersion mixed with sand. In very humid rooms - in bathrooms - the historical text says that cement can be added to the adhesive in a half-half ratio and mixed with water until fluid enough to spread. Apply 3-4 spots of this adhesive, each the size of a 50-para coin, to the backs of the previously soaked tiles with a spatula and place them in position. Horizontal and vertical alignment, spacing and grouting are carried out in the same way as when setting tiles in cement mortar.
Tiles made of synthetic materials
These tiles are much easier to work with. Their dimensions are 150 x 150 x 2mm. They can be cut easily and bonded to the wall.
Safety note: this is a historical text, and the mixtures, materials and procedures described are not contemporary performance specifications. Before work, you should check the cause of moisture and cracks, the load-bearing capacity and flatness of the substrate, the necessary waterproofing and the compatibility of the entire system, and follow the valid rules and instructions of the glue, grout and tile manufacturers. Dust control, ventilation and appropriate personal protection are required during demolition, cutting and mixing.