When plaster needs to be repaired
The simplest repairs are repairs to damaged plaster. Damage most commonly occurs on exterior plaster, and that is the smaller problem. When damage also becomes visible on walls, it means that moisture has already been fully absorbed, which is the larger problem. These possibilities for later repairs should be considered during construction, plastering and painting. It is useful to keep a small sample of the paint and record the mixing ratio. If powdered paint is used, a sufficient amount should be obtained for later repairs.
“My little house, my little freedom,” says one proverb. We add: “my concern”.
This concern is not small, because neglecting necessary repairs, such as correcting poorly executed masonry work, can lead to more serious consequences. When the required care is concerned, no distinction should be made between work on a new building and repairs to an old one. We will therefore begin with repairs that require less preparation, but, to emphasise it once again, no less care.
Repairing minor damage and painted surfaces

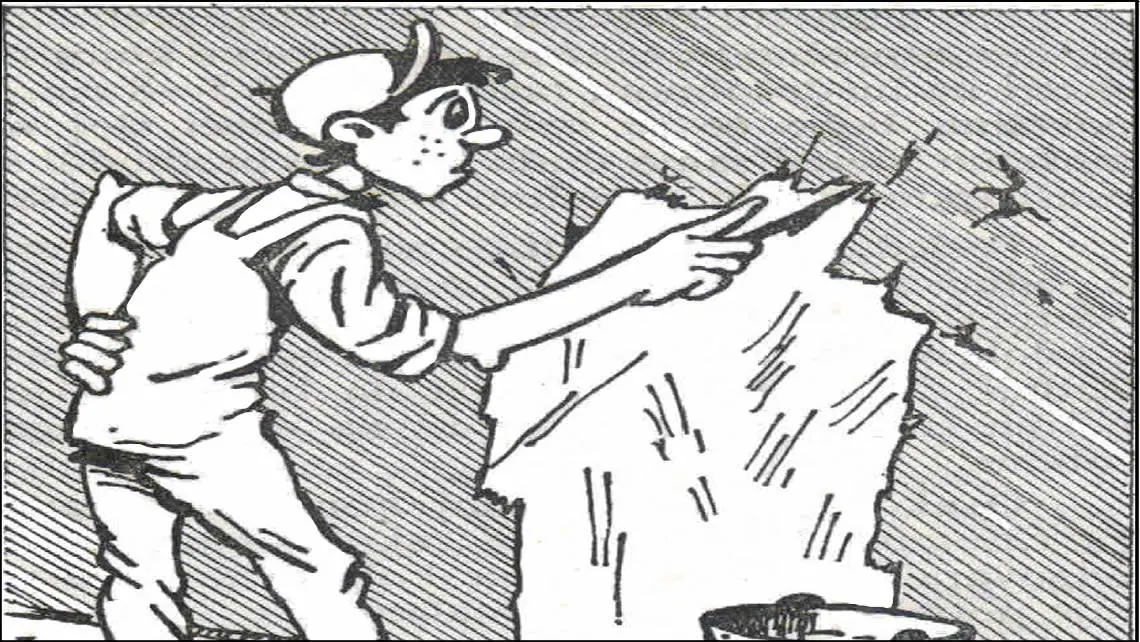
Applying gypsum to minor wall damage.
Preparing the damaged surface
Simpler and smaller jobs include repairs to damaged painted surfaces. Damage is most often caused by a scratch, damage to the wall or dirt. The first step is to scrape away the upper layer of plaster around the damaged area. It is better to scrape a larger area than a smaller one; in other words, some of the undamaged plaster surrounding the damage should also be scraped away, but without going too deep. A putty knife, a knife with a wide blade or a chisel is a suitable tool for this purpose.
The scraped surface should be cleaned with a hand brush or a stiff brush, and the wall should be sprayed several times with clean water. If there is not enough experience for this work, the undamaged area should be protected with paper. When spraying the wall, always wait for the water to be absorbed so that it does not run and leave unsightly marks.
Mixing, applying and painting
Meanwhile, a plaster should be prepared from one part cement 500 and two parts fine sand, then applied to the prepared wall with a float. The plaster should not be too runny, because a thicker mixture stays on a vertical wall more effectively. A runny plaster should be avoided in particular when working overhead, for example on a ceiling.
The applied plaster should be levelled with a float or a piece of straight board. Painting can be carried out only after the surface has dried completely. Adding paint to the plaster is not a problem, because this provides the base colour at the same time. Once the surface is completely dry, it should first be whitewashed, because this will remove the difference between the darker plaster used for the repair and the lighter colour of the original plaster.
When the lime has also dried, the repaired part should be painted one shade darker. At first the newly painted area will be darker, but after the paint dries — which can take as long as a week — the colour tones will become even.
Very small cracks
Alabaster gypsum should be used to remedy very small cracks and areas of damage, because the gypsum surface dries quickly and can be painted effectively. If the wall is white, painting is not even necessary.
Replacing larger areas of plaster

Removing a larger damaged area and preparing the wall for new plaster.
Removing detached plaster
When repairing larger areas of damaged plaster, the damaged section should first be removed completely. Tapping is used to check whether the plaster has separated from the wall, even if no damage can be seen from the outside. Detached plaster can be recognised by the sound it makes when tapped or if the wall surface can easily be pressed in by hand.
The damaged plaster is removed with the sharp end of a mason’s hammer. Do not try to preserve every part of the undamaged plaster; remove a few centimetres of it as well, because otherwise the new plaster will not bond. If the wall is built of bricks, use a chisel to remove the crumbling and wet mortar from the joints. Completely smooth brick surfaces should also be roughened slightly with a hammer so that the new plaster bonds more effectively.
This is followed by cleaning with a broom and thorough wetting. A wall can absorb an unexpectedly large amount of water, so it needs to be wetted several times, with the final wetting immediately before the new plaster is applied. For repairing damage measuring several square decimetres, the plaster composition already recommended for smaller repairs is suitable.
Plaster composition for larger areas of damage
Larger areas of damage, however, can be repaired only with plaster consisting of one part cement type 500, one eighth part slaked lime and one quarter part medium-fine sand. Only older slaked lime or powdered hydrated lime should be used, because freshly slaked lime releases gases that will form smaller or larger craters. The lime must also be mixed thoroughly, because lumps of lime left in the wall will cause cracks.
Applying plaster in layers
If the damaged area is deeper, the repair plaster should be applied in several layers. Individual layers should not be thicker than 0.5 cm. The plaster is applied with a trowel by making a turning and throwing movement from the wrist. It is then spread quickly with a small float and finally levelled.
Before a new layer is applied, the preceding layer should be scored across and lengthwise using a batten fitted with nails spaced 5–8 cm apart. The next plaster layer will bond more effectively to a rough surface and may be applied only after the preceding layer has dried completely. Drying can sometimes take as long as 10 days.
Levelling and finishing
The final layer should be applied so that it projects slightly beyond the original wall surface. Excess plaster is removed with a long levelling batten, working from bottom to top, and removed from the upper area with a float. The final plaster layer should not be too wet, because in that case the float will carry the plaster with it instead of levelling it.
The prepared layer is finally levelled with a levelling batten. Paint of the appropriate colour may also be added to the top layer. Surfaces repaired with plaster do not need to be wetted before painting.
If the surface to be repaired is larger, possibly several square metres, and the substrate below is very smooth, a fine-wire mesh or reed lath should be nailed to the first layer. The nails should be positioned close together, because otherwise the mesh or reed will move with the plaster and separate from the wall.
Edges are repaired by placing a straight, smooth batten at the wall edge to serve as a guide. It should be long enough to rest on the existing undamaged part of the wall both above and below. When applying plaster, always work from bottom to top, because otherwise fresh, plastic plaster can easily fall away. When painting, work in the opposite direction so that runny paint does not flow onto an area that has already been finished.
Related topics: properties of cement plaster and concrete, types of lime and lime plasters, other repair articles and processing services.