Archival Practice Content: The article preserves historic home nailing and riveting procedures, but is not a joint calculation, fastener specification, or load bearing confirmation. Material, length, diameter, spacing, distance from edge, grain direction, corrosion, humidity and actual load determine joint behavior. Load-bearing, protective, hanging and other safety-important connections require a suitable design, declared fasteners and professional inspection.
Today, Savo Kusić is focused on wooden windows, wooden-aluminum windows, custom windows, doors and requests for quotation. This article remains a historical archive and does not constitute an offer for home repairs, riveting or joint restoration.
Driving a nail
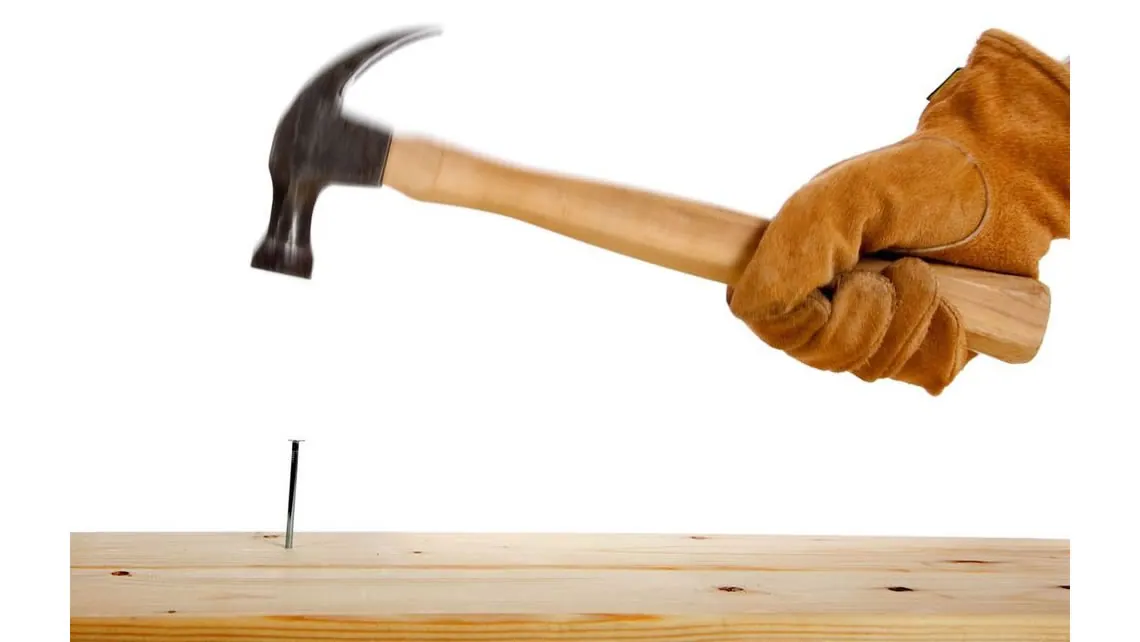
Driving nails is very simple, but not everyone knows how to do it correctly, at least to save their fingers. The first rule is that the hammer should be held in the hand still and so that the handle sticks out every centimeter. We start hitting with lighter blows, to strengthen the nail, and then we hit harder, with elastic and decisive hand movements. In order not to initially hold the nail with our fingers, we can use pliers with bent flat jaws, or a piece of cardboard. We will hold the nail like this until we drive it deep enough that it can hold on its own.
Hammer and workpiece: use an undamaged hammer of the appropriate type, safety glasses and a stable surface; clamp the object when it can move. Check what is behind or below the dunk point. Pliers, a holder, or cardboard can keep fingers out of the way, but they don’t eliminate the risk of bouncing nails, debris, or a missed shot.
The use of upholstery (carrier) nails
Nails are an increasingly important material for joining objects together. Nevertheless, at least for home use, smaller nails made of soft iron or brass will serve us in many cases: for wallpaper work, for attaching a picture canvas to a frame, for joining parts of a frame, for fixing the bottom of drawers in their seats, etc. In these cases, wallpaper nails are widely used, which are practically without a head (in fact, they have a cylindrical thickening, which is a fraction of a millimeter larger in diameter than the diameter of the nail itself). When we hammer them in, possibly under the very surface of the wood, and decorate the hole, we will achieve an aesthetically very satisfying work. To drive nails under the surface, we can also use an awl or a larger nail with a round tip of two or three millimeters in diameter.

Adherence, insertion and placement of nails in wooden joints.
Head countersinking: use a countersink or other impact tool, with a flat and undamaged end. An awl and improvised nail can slip, split wood, or throw off metal shards and are not a safe substitute for proper tools.
Use of nails and glue
One auxiliary but important use of nails (especially thin and long ones) is in fixing adhesive objects that cannot otherwise be held under pressure by clamps, string or weights. When the gluing is finished, the nails can be left where they are, or removed. In the case of joining with glue and nails (a slat with a crossbar, two slats placed in the shape of the letter T, slats at a right angle, etc.), in order to make the connection the strongest, the nails should be nailed diagonally and alternately in different directions.
Notes on the use of nails
Except for packaging (wooden crates or crates) or larger rough works (fences, gates with a metal grid), we should never make joints with nails alone. Large (construction) nails are intended only for the rough work mentioned above and are only used for soft wood. If we hammered a large nail into a hardwood lath, a crack would be created in the direction of the grain of the wood. Let’s also keep in mind that two or three smaller nails hold better than one longer one with a larger diameter.
For hammering in thinner nails, we will use a light hammer (hammer of 100 gram approximately). If, when driving, the nail is bent due to a bad blow or because it is too weak, it is necessary to pull it out and place another one. We can sometimes try to straighten the nails in the seat with side kicks, but often the seat spreads out and we will not succeed in driving it.
Bearing capacity of the joint: the number of smaller nails, oblique nailing or the addition of glue do not guarantee the bearing capacity. Hardwood may require pre-drilling, and the adhesive must be suitable for the material, gap, moisture and conditions of use. Fences, gates, person-bearing furniture and objects above people require a reliably designed and inspected joint.
Replacement of rivets
The problem of replacing rivets can arise in the house when, for example, the handle of an aluminum pot falls off. We can do the repair in two ways. In the first case (a), we will remove the old rivet, and place a new one, with a countersunk head, and rest it against some round surface (hand vice, heavy hammer). Then we will beat the body of the rivet from the other side with a hammer and a shaper until we make a semi-circular head. In the second case (b), we will place a new rivet with a semi-round head, rest the head on the former (which we will fix with a table vise), and we will hammer the protruding part of the rivet, until we fill the seat and get a countersunk rivet head (as shown in the picture).
Cookware and handles under heat: historical description of hand riveting is not confirmation that repaired cookware is safe. The rivet, handle and contact materials must be suitable for temperature, corrosion and contact with food, and the joint must be free of cracks and gaps. Pressure vessels and handles carrying hot or heavy dishes are not improvised repairs; the defective item should be withdrawn from use and handed over to a professional service or replaced.